


Understanding Air Leaks: The Hidden Energy Drain
What Causes Air Leaks Around Windows?
Imagine a chilly winter morning when your heating system works overtime, yet your living room still feels drafty. More often than not, the culprit is unnoticed air leaks around your windows. These leaks occur due to gaps in window frames, cracks in the caulking, or improper installation. Over time, the natural wear and tear, such as wood swelling or contracting and sealants cracking, contribute to these openings where cold or hot air sneaks in and out.

How Air Leaks Impact Your Energy Bills
Consider the story of Lisa, who noticed spikes in her energy bills every winter. After a friend suggested checking her window seals, Lisa found several gaps. These leaks made her heating system run longer to maintain comfortable temperatures, directly translating into increased energy consumption and higher costs. Studies show that air leaks around windows can account for up to 25% of heating and cooling energy loss, which sums up to a significant drain on your wallet if ignored.
Tools and Materials Needed for Detecting and Sealing Air Leaks
Essential Tools for Air Leak Detection
Before diving into repairs, having the right tools is crucial. A simple flashlight helps spot gaps during your visual inspection, especially at night when light reveals cracks more clearly. For a more precise approach, many homeowners find a smoke pencil or incense sticks valuable; the drifting smoke reveals drafts. Additionally, a thermal imaging camera, though slightly more expensive, offers a clear picture of temperature differences, highlighting hidden leaks behind walls or window frames.
Recommended Sealants and Weatherstripping Options
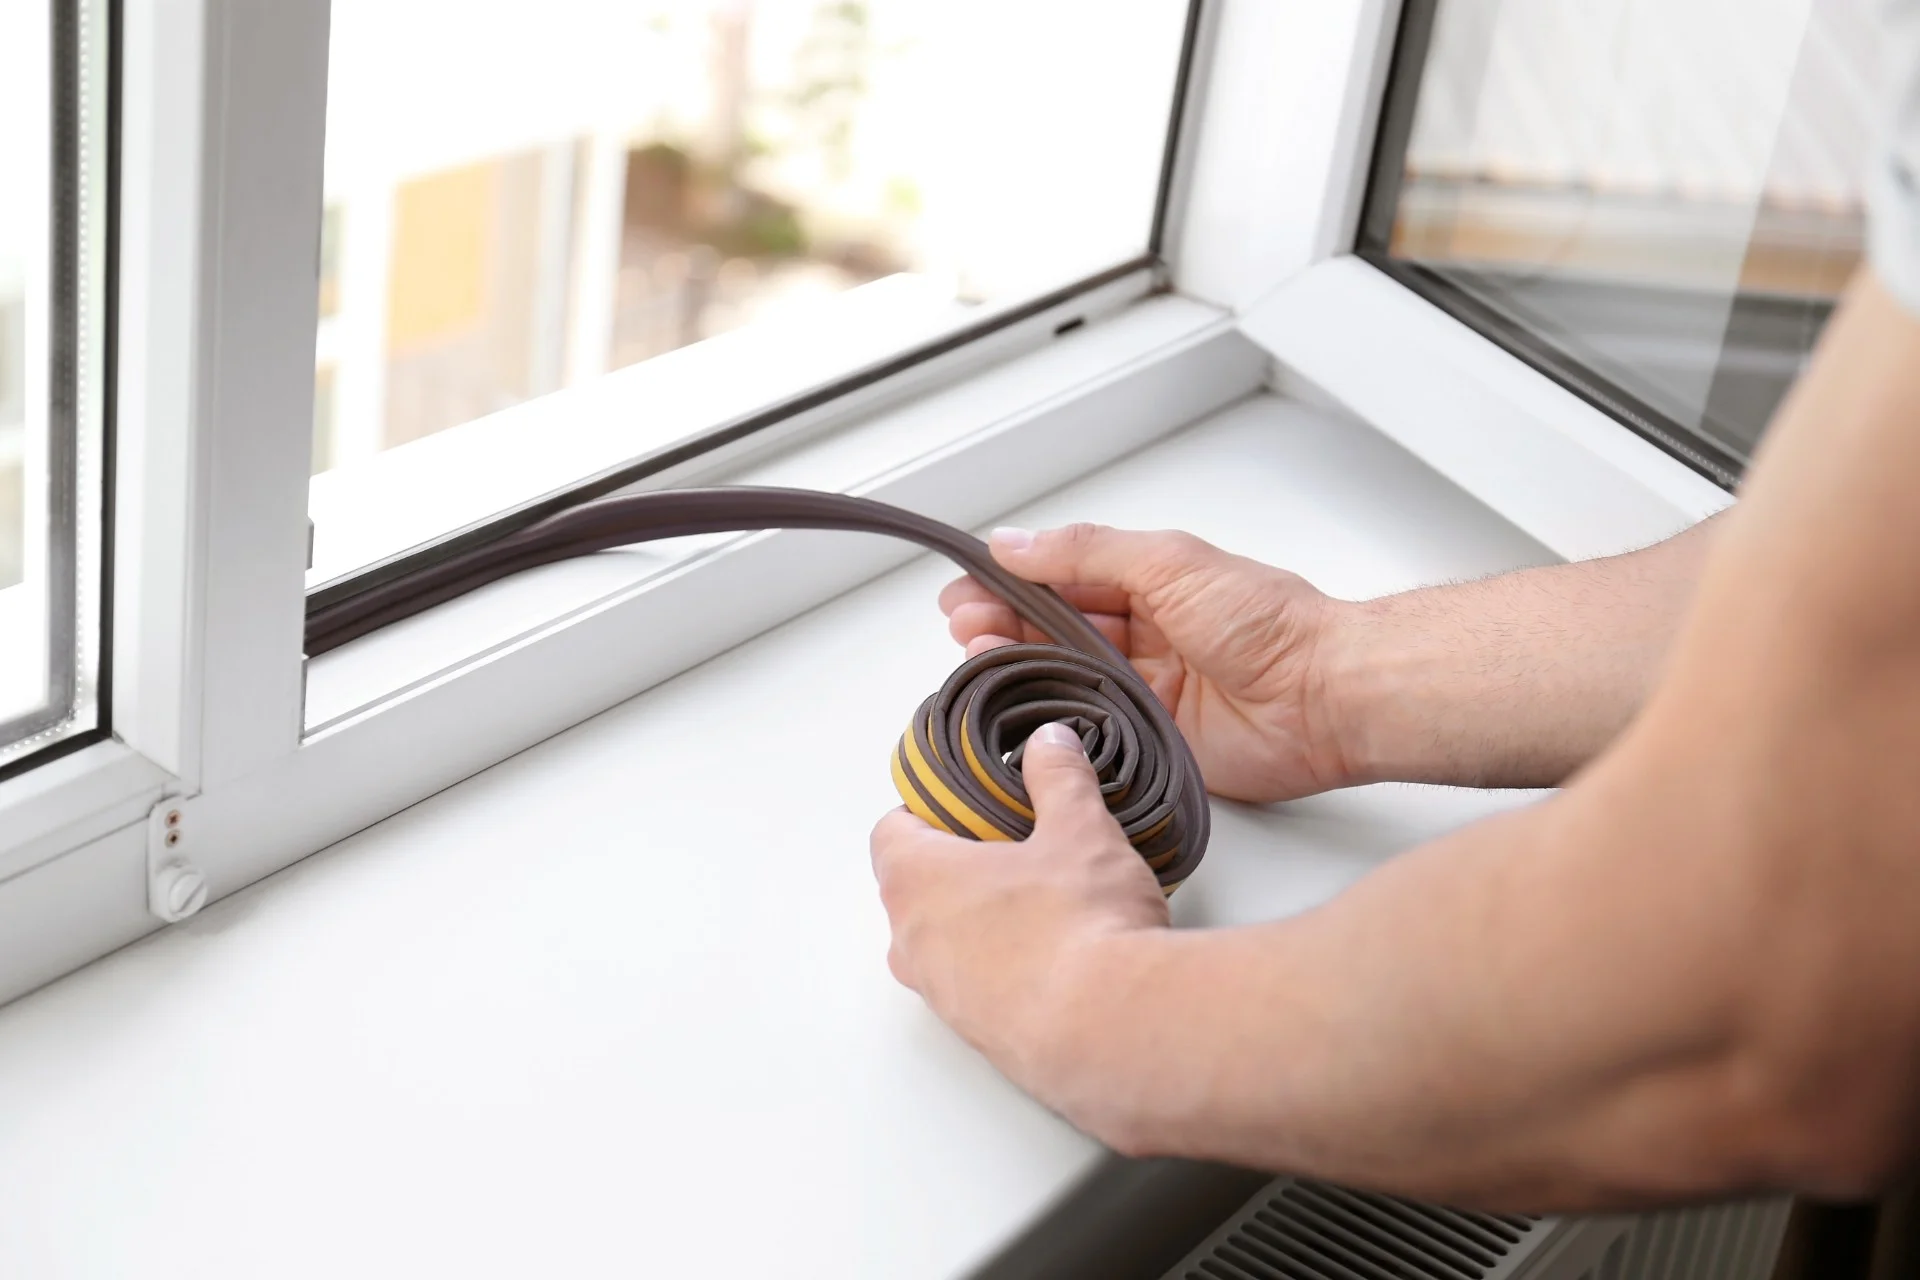
After identifying leaks, sealing them effectively requires the appropriate materials. Latex caulk is a versatile option for small cracks due to its flexibility and easy application. For larger gaps, silicone-based caulks provide durable weather resistance. Weatherstripping comes in various forms—from foam tapes to V-strip metal—and selecting the right one depends on your window type. For example, double-hung windows benefit from felt or vinyl weatherstripping, while sliding windows often require adhesive-backed foam tape for a snug fit.
Step-by-Step Guide to Identifying Air Leaks Around Windows
Visual Inspection Techniques
Start your assessment on a calm day. Carefully examine the window frame, paying attention to areas where the frame meets the wall and where panes are sealed together. Look for peeling paint, cracked caulking, or visible gaps. Prying open the window slightly and feeling for a breeze along the edges can detect leaks otherwise invisible to the eye. Doing this during colder months makes drafts more noticeable, helping pinpoint problematic spots.
Using Smoke and Thermal Detection Methods
To enhance your search, light an incense stick or a smoke pencil and slowly move it around window edges. If the smoke wavers or is pulled toward a crack, you’ve found an air leak. For a deeper analysis, renting or borrowing a thermal camera can quickly highlight temperature discrepancies. Sarah, a homeowner in Chicago, used this method and discovered leaks not only around her windows but also beneath the sills and in adjacent wall areas, which she might have missed otherwise.
DIY Energy Audit for Homeowners
Conducting a DIY energy audit is a practical way to assess your entire home’s efficiency. During this process, walk through your rooms with the door and windows closed, noting areas where you feel drafts or temperature differences. Combine your findings with the smoke and thermal tests to create a map of leak-prone spots. This proactive step helps you prioritize which windows or areas require immediate attention, saving time and resources in the sealing process.
Effective Methods to Seal Air Leaks
Applying Caulking and Weatherstripping
Once leaks are identified, sealing them effectively can be quite straightforward. Applying caulk along the cracks around window frames creates a durable barrier against air infiltration. It’s important to clean the surface before application to ensure good adhesion. Meanwhile, installing weatherstripping around movable window parts seals the gaps that caulk can’t address. For example, John found that replacing worn-out weatherstripping on his old windows drastically reduced drafts and made his home feel noticeably warmer.
Insulating Window Frames and Sills
Beyond simple sealing, insulating window frames and sills adds another layer of protection. Foam backer rods can be pushed into larger gaps before caulking to fill space and enhance insulation. Adding insulated curtains or cellular shades during colder months complements sealing efforts by reducing heat transfer through the glass. In one real scenario, a family in Denver combined caulking with thermal curtains, achieving a substantial dip in their heating bills the following winter.
Replacing Damaged or Inefficient Window Components
Sometimes, sealing isn’t enough if window components are severely damaged or outdated. Rotting wood frames, cracked panes, or malfunctioning seals might require partial or full replacement. Investing in energy-efficient windows with double or triple glazing, low-E coatings, and superior seals can significantly cut energy loss. While it’s a larger upfront cost, the long-term savings and comfort gains often justify the investment, especially in climates with extreme temperature swings.
Energy Savings: How Proper Sealing Translates to Lower Bills
Calculating Potential Savings from Air Leak Repairs
After tackling air leaks, monitoring your energy bill offers tangible proof of your efforts. Homeowners typically see a reduction of 10-20% in heating and cooling costs. For example, Matt, who sealed all his window leaks before winter, reported saving over $150 in a single cold season. Using online energy calculators or consulting with an energy expert can provide estimates tailored to your home’s size and climate, helping validate the financial impact of your sealing project.
Long-Term Benefits Beyond Immediate Energy Reduction
Proper sealing doesn’t just lower bills; it also enhances indoor comfort by reducing drafts and noise pollution. Moreover, it prevents moisture intrusion, which can lead to mold growth and structural damage. Over time, maintaining airtight windows preserves their lifespan and reduces the need for costly repairs or premature replacements. These benefits create a healthier living environment and add to your home’s overall value.
Maintenance Tips to Keep Your Windows Airtight Year-Round
Seasonal Inspection and Re-sealing
Regular maintenance is key to sustaining energy efficiency. Experts recommend inspecting window seals at least twice a year—before winter and summer—when temperature differences are greatest. Look for signs of wear, such as cracked caulk or compressed weatherstripping. Reapplying sealants and replacing weatherstripping as needed keeps your windows performing optimally and prevents small leaks from turning into bigger problems.
Best Practices for Window Care and Upkeep
Beyond sealing, simple care routines extend the effectiveness of your windows. Cleaning tracks and frames removes debris that can interfere with window closures, ensuring tight seals. Lubricating moving parts prevents warping or sticking, which can cause air gaps. Also, avoid painting over weatherstripping or caulk as it degrades their flexibility. By staying proactive with these practices, you ensure your windows remain your first line of defense against unwanted drafts.