Introduction to Gas Water Heater Maintenance
Why Regular Cleaning is Essential
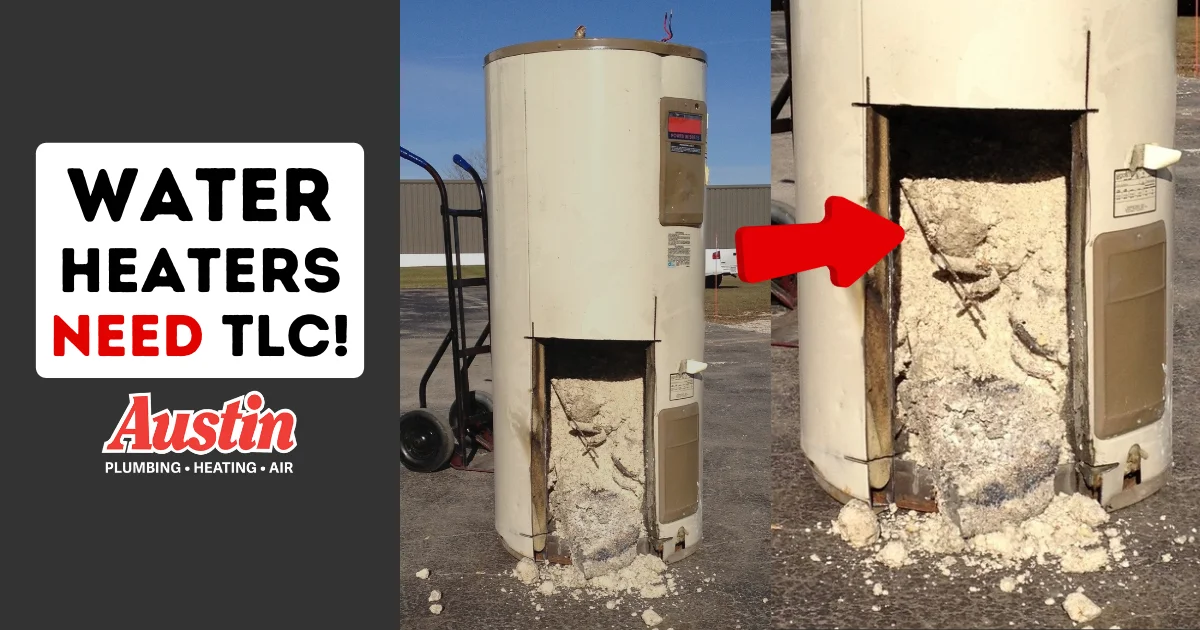
Maintaining a gas water heater is crucial to ensuring it functions efficiently and safely over its lifespan. Over time, sediment and mineral deposits accumulate inside the tank, which can lead to decreased heating performance and increased energy costs. If left unaddressed, these deposits may cause premature wear and even damage internal components, shortening the life of your water heater. Regular cleaning helps prevent these issues, promoting consistent hot water supply and reducing the risk of costly repairs.
Safety Considerations Before You Start
Working on a gas water heater involves hazards such as gas leaks, scalding water, and exposure to combustion elements. Before beginning any maintenance, it is vital to understand and implement safety precautions. Turning off the gas supply and water flow, ensuring good ventilation, and wearing protective gear are all necessary steps to protect yourself from accidents. Ignoring these measures can lead to dangerous situations including fire, explosion, or carbon monoxide poisoning.
Preparation Before Cleaning Your Gas Water Heater
Gathering Necessary Tools and Materials
Effective maintenance starts with having the right tools on hand. Commonly needed items include a garden hose for draining, a wrench or screwdriver for removing panels, a wire brush for cleaning components, and a flashlight for inspection. Additionally, gloves and safety goggles are important to protect against hot water sprays or debris. Preparing these materials beforehand prevents interruptions and allows for a smoother cleaning process.
Turning Off the Gas and Water Supply
The first critical step before cleaning is shutting off both the gas and water supply to the heater. Turning off the gas valve near the heater prevents any accidental ignition or gas leaks during maintenance. Likewise, closing the cold water inlet valve stops new water from entering the tank while it is being drained. This step ensures that the system is depressurized and safe to work on.
Ensuring Proper Ventilation in the Work Area
Gas water heaters rely on combustion, which requires proper ventilation to prevent the buildup of harmful gases. Before starting your maintenance, verify that the area is well-ventilated by opening windows or using fans if indoors. Adequate airflow reduces the risk of gas accumulation, minimizing the chance of dangerous carbon monoxide exposure or explosions during and after cleaning.
Step 1: Draining the Tank
Locating the Drain Valve
Draining the water heater tank is essential for removing sediment and preparing for a thorough flush. Typically, the drain valve is located near the bottom of the tank, often resembling a hose bib. Identifying this valve accurately is important to avoid damage during the process. Consult your heater’s manual if you are unsure of the exact location before proceeding.
Attaching a Hose and Draining Techniques
Once the valve is located, attach a garden hose securely to direct the water safely to a drain or outside. Opening the valve allows the tank to empty, which can take some time depending on the tank size. To speed up draining, opening a hot water faucet inside your home can help release pressure and allow air to enter the tank. Ensure the area around the hose outlet can handle the water flow to avoid any water damage.
Step 2: Flushing the Tank
Removing Sediment Build-up
Sediment accumulation inside the tank can severely affect heating efficiency and damage the heater’s lining. After draining, flushing water through the tank helps dislodge stubborn deposits. By opening the cold water supply briefly, you can flush out remaining debris until the water runs clear. This process prevents corrosion and keeps the heater operating at optimal levels.
When and How Often to Flush
The frequency of flushing depends on the water quality and usage in your area. Homeowners in regions with hard water should consider flushing their tank every six months, while others may only need to do it once a year. Regular flushing is a proactive step to avoid sediment buildup, ensuring consistent performance and extending the appliance’s life.
Step 3: Inspecting and Cleaning Key Components
Cleaning the Burner Assembly
The burner assembly is the heart of a gas water heater’s heating system, and over time it can become clogged with dust, dirt, or soot. A dirty burner can cause inefficient combustion and increase the risk of malfunction. Carefully removing and cleaning the burner with a wire brush helps maintain proper flame quality and heat output. Be sure to check that the burner is reinstalled correctly to avoid gas leaks.
Checking the Anode Rod
The anode rod plays a vital role in preventing tank corrosion by attracting corrosive elements in the water. Over time, this rod depletes and requires inspection or replacement. Removing and examining the rod every one to two years can reveal signs of wear such as significant thinning or deterioration. Replacing a worn anode rod is an inexpensive way to protect the tank and prolong the heater’s lifespan.
Inspecting the Venting System
Proper venting is essential for removing harmful combustion gases safely outside your home. Blocked or damaged vents can cause carbon monoxide buildup and reduce heater efficiency. Inspecting the vent pipes for obstructions, corrosion, or loose fittings ensures safe operation. Cleaning or repairing vents as needed prevents dangerous gas accumulation and maintains compliance with safety standards.
Step 4: Reassembling and Restarting
Refilling the Tank Safely

After cleaning, it is important to refill the tank slowly with cold water to avoid damaging the internal components. Opening a hot water faucet during this process allows trapped air to escape, preventing pressure buildup. Never turn the gas back on until the tank is completely full to avoid overheating an empty tank, which could cause serious damage.
Relighting the Pilot Light
Once the tank is refilled, the pilot light can be safely relit according to the manufacturer’s instructions. This step requires caution as improper ignition can lead to gas leaks or fire hazards. Using a long lighter and following proper procedures ensures the burner ignites correctly. If unsure, consult a professional to avoid risks.
Testing for Gas Leaks and Functional Problems
Before concluding maintenance, it is critical to test for any gas leaks by applying a soap solution to the gas connections and looking for bubbles. Additionally, monitor the heater’s operation for unusual noises, smells, or inconsistent heating. Detecting and resolving these issues early prevents potential accidents and keeps your gas water heater functioning reliably.
Preventive Maintenance Tips
Routine Checks to Extend Heater Life
Regular inspections and small maintenance tasks can significantly extend the life of your gas water heater. Checking the pressure relief valve, testing water temperature settings, and ensuring the thermostat works correctly reduce wear and improve safety. Scheduling these checks seasonally helps catch minor issues before they escalate into major failures.
Signs You Need Professional Service
While homeowners can perform basic cleaning and inspection, certain problems require expert attention. Persistent gas odors, pilot light issues, unexplained water leaks, or irregular heating indicate underlying problems that professionals should address. Ignoring these signs may compromise safety and lead to expensive repairs, so contacting a certified technician promptly is advisable.
Conclusion
Summary of Safe Cleaning Practices
Cleaning and maintaining a gas water heater regularly is essential for efficiency, safety, and longevity. By carefully preparing the workspace, following step-by-step procedures to drain, flush, and clean key components, and safely restarting the system, homeowners can avoid common pitfalls and ensure reliable hot water supply. Prioritizing safety precautions and recognizing when to seek professional help further enhances protection. Consistent maintenance not only saves money but also provides peace of mind in daily use.


